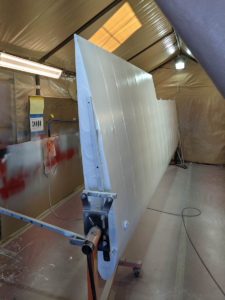
The other wing (the left one)
Starting to cover the last piece of the aircraft: the left wings. Here are some pictures. The leading edge is covered with Poly-Fiber polyester padding.
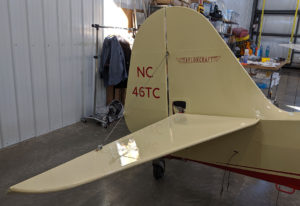
The Tail!
The tail is together. I am so happy! You can also see on the fuselage the dedication to Ramblin’ Rod, see my previous post http://www.n46tc.com/?p=20
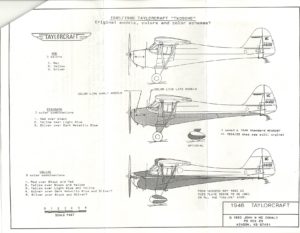
The 1946 Taylorcraft Paint Scheme
I found this document on the Taylorcraft Forum that contains the original 1946 Taylorcraft Paint Scheme. And I have started painting with Ranthane. More to
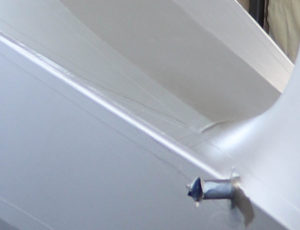
The difference between an airworthy airplane and a showpiece
When I started this project my major concern was to produce an airworthy airplane. Over time I have learned that airworthy is relatively easy, but
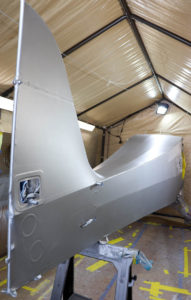
Fuselage is really ready to paint
Now it is really ready to paint. After three cross-coats of Poly-Brush it looks like this. I sprayed a white coat of Poly-Tone to be
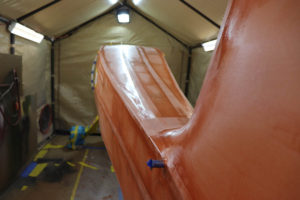
Fuselage is ready to paint
Not really, but almost. It needs one more coat of Poly-Brush, then the three classical coats of Poly-Spray, and then one coat of White Poly-Tone.

and the right wing is covered
In previous posts I discussed my struggle with the wire clips, going back to the original wire was a key step that allowed me to
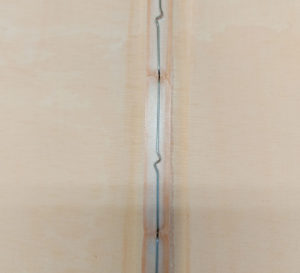
The Taylorcraft Wire Clips
The Taylorcraft BC12D did not use rib stitching, it uses the Taylorcraft Wire Clips. Today, you can buy an FAA PMA-approved Martin Wire Clips from
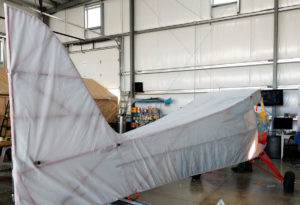
Covering the Fuselage
My friend John, who has helped me on this project, has decided to go flying in Alaska for the summer and so we decided to
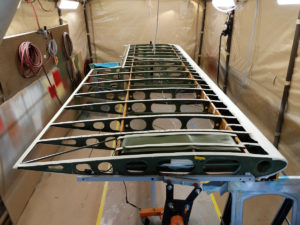
Covering the right wing
All the preparation work is done, ready to cover the right wing, the wings looks like”The Mummy” with all the anti-chafing tape. Just finished pulling
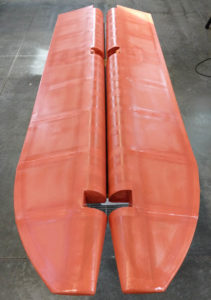
Working on the ailerons
These are the two ailerons after two coats of Poly-Brush applied with the brush and one sprayed HVLP. Next step are three coats of Silver
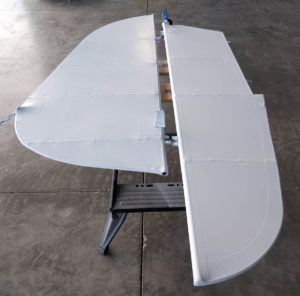
… and here is the white
I am done with the tail. Even if I am probably going to finish the aircraft with Ranthane (a high-solids, flexible, two-part polyurethane) I have
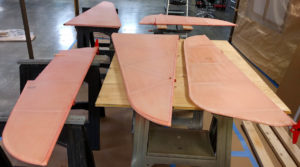
… and here is the first pink stuff …
These are the tail surfaces covered with poly-fiber, shrink to 350 F, and covered with the first coat of Poly-Brush (the pink stuff). Please Read
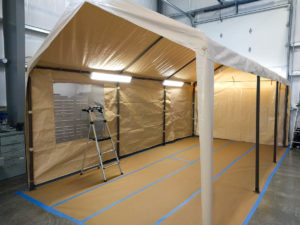
Paint booth
I bought an external garage 10 x 20 ft from Costco that seems to be the cheapest solution. Here is the box. and here are
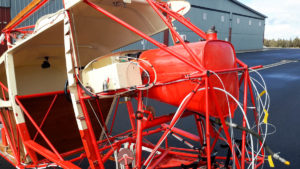
Fuselage is ready to cover
It always takes more time of what one thinks, but at the fuselage is now ready to cover. The avionic has been installed and a
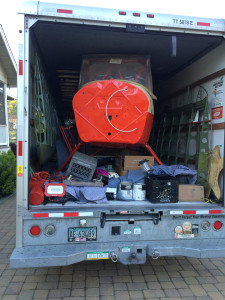
Moving to a new home
If you have read this blog from the beginning, you know that I bought this plane in Oregon. It was the plane of Rodney Carl Andersen, well
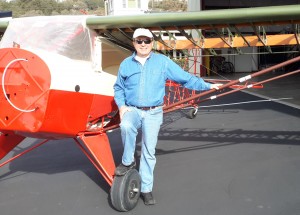
November 30th, 2015: An important milestone
I worked very hard to meet a self-imposed milestone at the end of November, to have the fuselage and the wings together, … and I
My final laundry
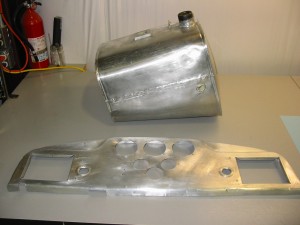
Today I achieved a major milestone in my project: all airframe parts are cleaned and primed. When I started this project I didn’t really understand
Wings eventually
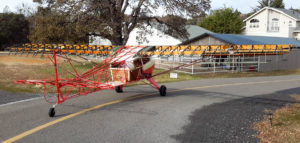
The restoration of the wings is happening. As always a lot of cleaning, a lot of elbow grease. Here is the current status. The wood
Headliner
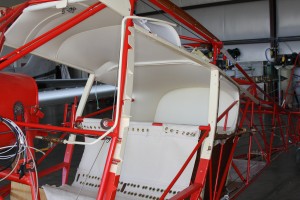
With a BIG help from Aviation Design, a company based at E45, my local airport, the headliner is in and it looks good. At this
ADSB-OUT is working
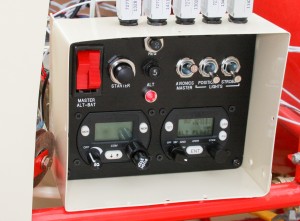
today N46TC passed a full test of ADSB-OUT. The only thing I had to do was change the serial speed of the transponder to 19200
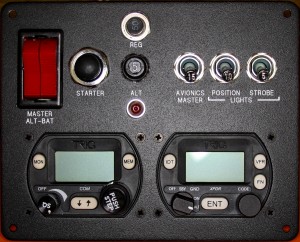
Final Avionic Panel
the screw are not yet the final one, but this is it !!! It fits in the left glove box. Thank You at Dan and
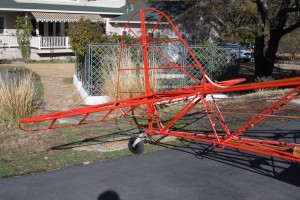
Tail and fly-wires
The tail has now fly-wire temporarily installed. I obtained the through Aircraft Spruce, but I think originally they came from Wag-Aero. Please Read and Understand
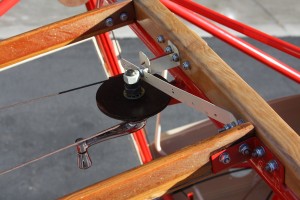
Trim Tab Indicator
The trim tab indicator was rebuilt from scratch, I had no parts. There are a couple of drawings on the F19 manual, but my main
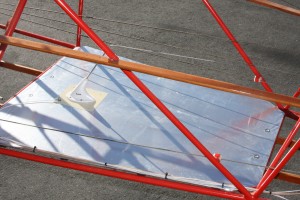
Antennas
I have decided to have three hidden antennas: Com, Transponder and GPS. The com antena is RA MILLER AV-17 COM ANTENNA (my IA says it
Fuselage almost together
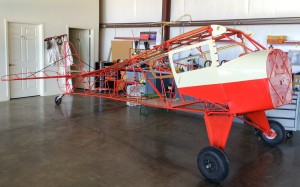
At least it seats on the three wheels, and the boot cowling and doors are painted. Next is work on the instrument panel, electrical system
It breaks !
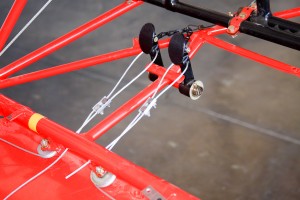
The pilot brake pedals are now connected, even if only temporarily, while waiting for the copilot pedals that are currently being powder coated. The next

Painting
A lot of painting is happening. Red and Beige. The red is Valspar LIC30 Acrylic Enamel and the beige is Valspar 327 Acrylic Enamel. These
Trim tab
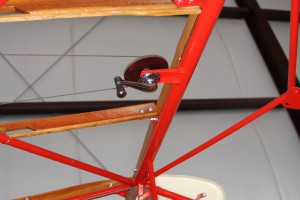
The trim tab is done! Well except the indicator 🙂 The above picture shows the control on the cockpit ceiling. The two small wires go
Control Cables
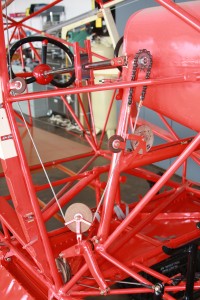
Finally all the control cables have been rebuilt. We used approx 100 ft of aircraft spruce CONTROL CABLE 1/8 7X19 SS with copper Nicopress sleves.
Landing Gears and Brakes
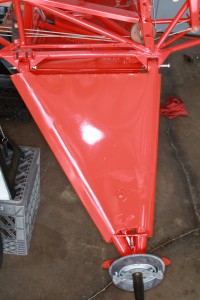
In the last couple of months I had time to restart working on N46TC and in particular I reinstalled the landing gear and the brakes.
The wood stringer are in place
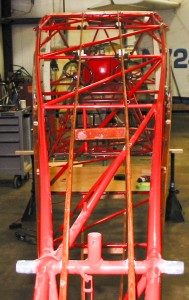
The wood stringers and the rear windows are in place. I built some spruce support for them to avoid them flipping under the tension of
Fitting doors and door frames
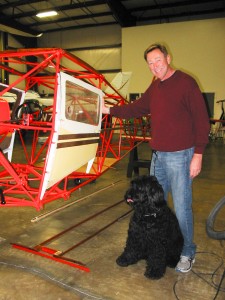
after a lot of cleaning and priming the door frames are ready to be reassembled. Before painting them in two colors my friend Michael and
The floor boards are in
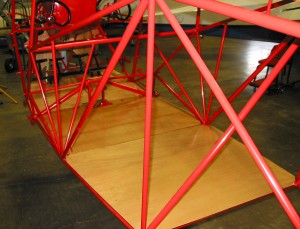
With a lot of help from my friend Michael the floor boards are in. They are made with 1/4 inch mahogany plywood covered with three
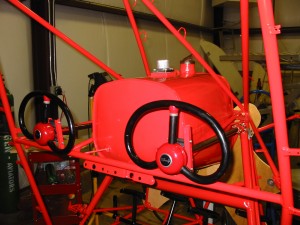
Fuel Tank and Yokes are reinstalled
The fuel tank and the two yokes have been installed.Please Read and Understand the Legal Disclaimer
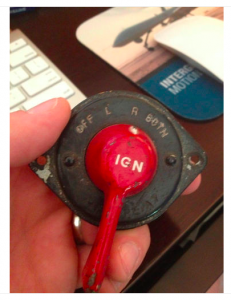
A7 switch
After some searching around I have located an A-7 magneto switch on Ebay. Now I need to decide between the repair kit at: http://www.airrepairinc.com/a7-switch.html or,
It has been one year
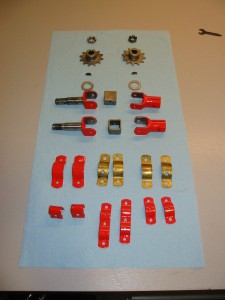
From September 2011 to September 2012: it has been one year in which the project didn’t make any progress. Sometime in life there are periods
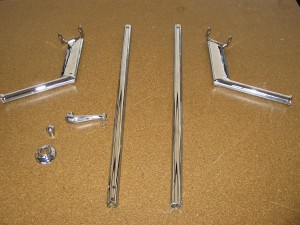
Make it shinny
I have sent some part to be chromed to Modesto West Coast Chrome. I am happy with the result. Please Read and Understand the Legal
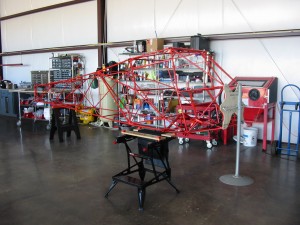
Fuselage is now mounted …
… on a rotating support, so it will be easier to work on it.
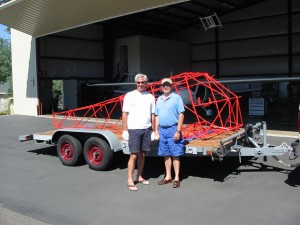
and it is back …
thanks again to Paul Price for the trailer and to Mike Lella for the truck and the driving. I am very happy with the quality
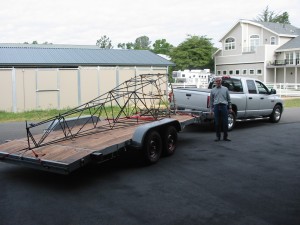
Here we go
May 31st, 2011, to the paintshop in Fresno BlastTech 1451 North Witney Fresno, CA 93703 My frient Mike Lella is helping me with the tow.
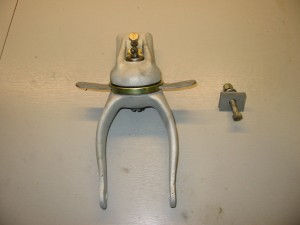
Scott Tailwheel
I restarted working on N46TC, in particular on the Scott 3200 tailwheel. In particular, I found these videos very useful. http://www.supercub.org/forum/showthread.php?39342-How-to-rebuild-a-tailwheel&highlight=scott On June 1st
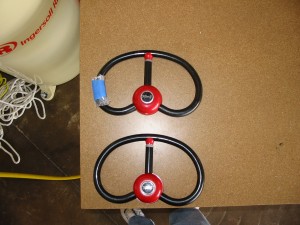
Yokes are rebuilt
Found company that provides Yoke parts. http://www.skyportservices.net/T-craft.html After sitting on my bench for a while, on May 26, 2011 I rebuilt my Yokes. Please
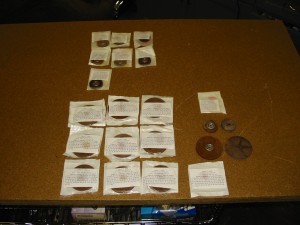
New Pulleys
After having spent some time cleaning the old pulleys (see http://www.n46tc.com/?p=55) I decided to buy new ones following this recommendation of astjp on the Taylorcraft
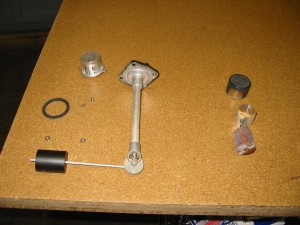
Fuel Gauge
The material needed to repair the Main tank fuel gauge arrived today. On the left you can see the new seal (P/N 0015-00004) and the
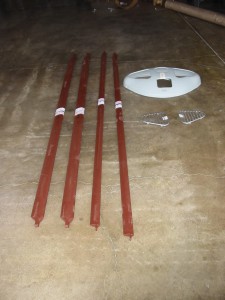
UNIVAIR
The Univair shipment arrived today. It was very well packed and everything was in good order. In the picture you can see the new wing
Brakes
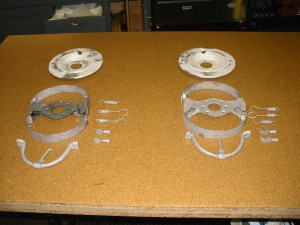
The Shinn Brakes are disassembled, washed and sandblasted. They are ready to be primed and painted. There is a nice description on how to maintain
A small step in the right direction
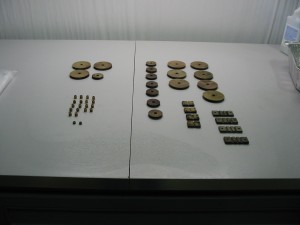
Cable pulleys are washed with lacquer finer and the old paint is removed. Four will need to be replaced since they have dents (top left).
N46TC arrives at E45
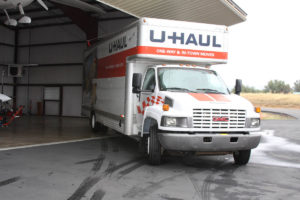
E45 will be the new home of N46TC. http://www.pmlaa.org Few friends helped unloading it.
N46TC leaves 7S9
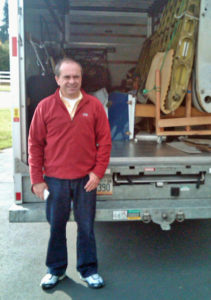
On October 21st, 2010 N46TC leaves 7S9, Lenhardt Airpark, Hubbard, Oregon, USA.
N46TC and Ramblin’ Rod
Rodney Carl Andersen was well known in the Northwest as the host of a children’s show for over 30 years. For years it was the
A brief history of N46TC
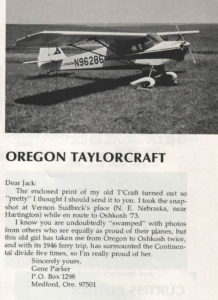
06/05/1946 Original Aircraft Registration Certificate issued to Taylorcraft Aviation Corporation, North Benton Road, Alliance, OH, S/N 8586, N96286 06/05/1946 Original Airworthiness Certificate issued, N96286 06/11/1946
N46TC
N46TC is a Taylorcraft BC12-D converted to a F-19 which I hope to restore in the next few years. To learn more about Taylorcraft airplanes,
Original Pictures
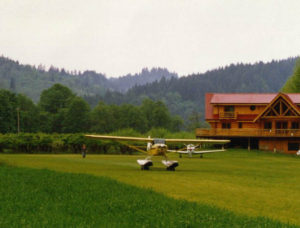
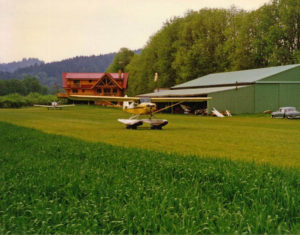
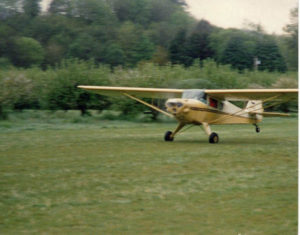
Here are the pictures I got with the sale advertisement.
